

Here is the eyelash perming kit that I bought from the Born Pretty Store for $14.22. The shipping takes a few weeks to get to the US so keep that in mind when ordering. This kit also does not come with English instructions, so that is another reason I am doing this tutorial. The kit comes with ...

Eyelash curling rods, eyelash glue, perming solution (pink), perming relaxer (white), the yellow one is used to help release the eyelashes from the rod, and I haven't quite figured out what the clear one is yet- but I was able to get the results without using it. In addition to the supplies in the kit, you will also need a few toothpicks, some cotton pads, and a glass of water. So now that you have the supplies you can get started.
Step 1

Take the curling rod out of the package and fit it to the eye. If the rod is too long, take some scissors and snip the extra off. Bend the eyelash rod back and forth to make it more flexible. Place the curling rod back onto the eye lid and press into place. Try to get the rod as close to the lash line as possible. *Tip* If eyelash rod does not stick to the eyelid on some parts, apply some of the eyelash glue provided in the kit to the rod and press the rod to the eyelid again for a few seconds.
Step 2

Using a toothpick, sweep the eyelashes up onto the rod and gently press them against the rod to get them to stick. Try to keep the eyelashes in order, but if they are perfect, don't worry about it. *Tip* If the eyelashes do not stick to the rod, brush a thin strip of eyelash glue across the rod, wait a few seconds, then try again. I had to apply glue a few times to get my Mom's eyelashes to stick to one of the rods.
Step 3

Taking the same toothpick, apply a generous amount of perming solution (pink bottle) to the eyelashes. I apply the cream on the entire length of the lashes. Once the solution is on both eyelashes, wait 10-15 minutes. I tweezed my Mom's eyebrows while waiting, so you will see that transformation as well as the pictures continue. =P
Step 4

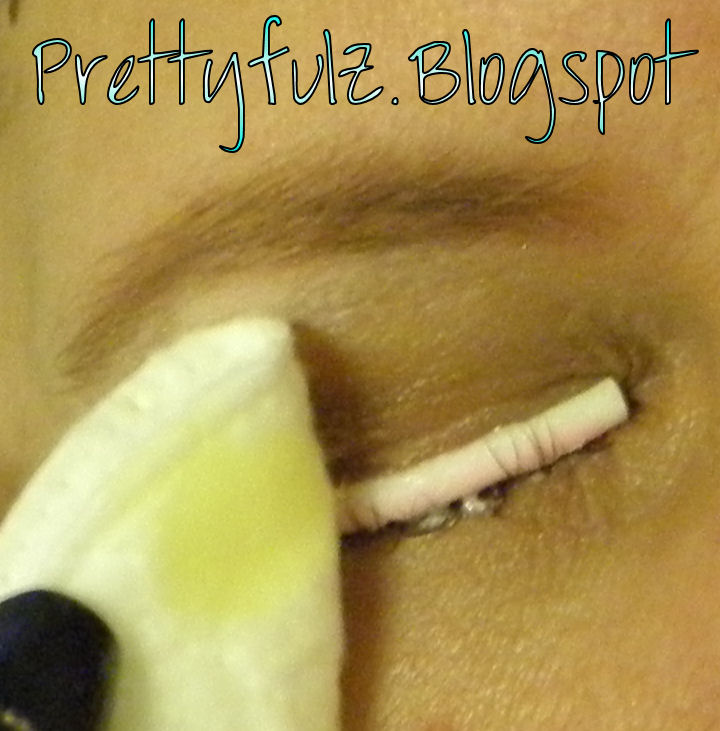
After the solution has worked it's magic for 10-15 minutes, take a cotton pad and dip it in water and squeeze some of the excess water out. You don't want the cotton pad to be soaked, but you need it a little more than damp. Take the cotton pad and gently brush it upwards (to avoid getting it in the eye) on the curling rod and lashes. Do this a few times until a majority of the perming solution is washed off. Do not try to scrub the solution off, or else the eyelashes will un-stick to the rod. Some eyelashes will eventually un-stick to the rod, but at this point the perming solution has already set in and it shouldn't be too much of a problem. *TIP* If your doing your eyelashes by yourself, use a Q-tip instead of a cotton pad to avoid getting any of the water or solution in your eyes.
Step 5

Using a new toothpick, apply the perming relaxer (white bottle) to the entire length of the eyelashes. Wait another 10-15 minutes.
Step 6

Before & After (without mascara)

After with mascara
I LOVE the results! With $15 and 30 minutes you too can have curly lashes for up to 3 months. If you get lost along the way doing this, check out some videos on YouTube.
So what do you think? Would you perm your eyelashes? Does the concept interest you or does it freak you out? Was the tutorial helpful? I hoped you liked it and if so, I will try to make more tutorials. Until next time ...
*DISCLAIMER*
This tutorial is for educational purposes only. There is always the risk of pontential damage when using any chemicals near your eye area. Please be extremely careful and know the possible dangers before performing this at your own risk.